
colorful single color EVA bicy
colorful single color EVA bicycle handlebar tape totally seven colors: black, r...
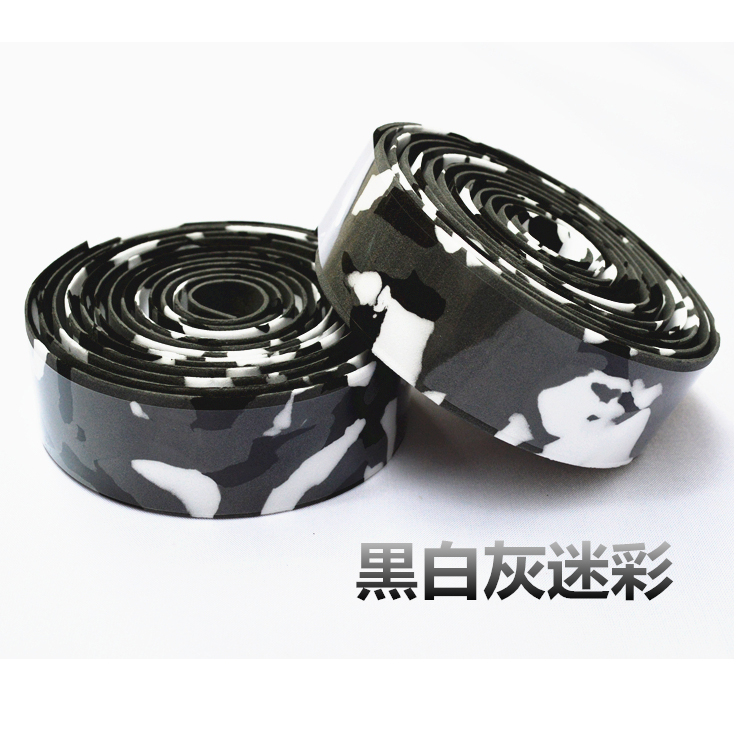
camouflage color EVA bar tape . seve color that you can choose : black-grey-whi...
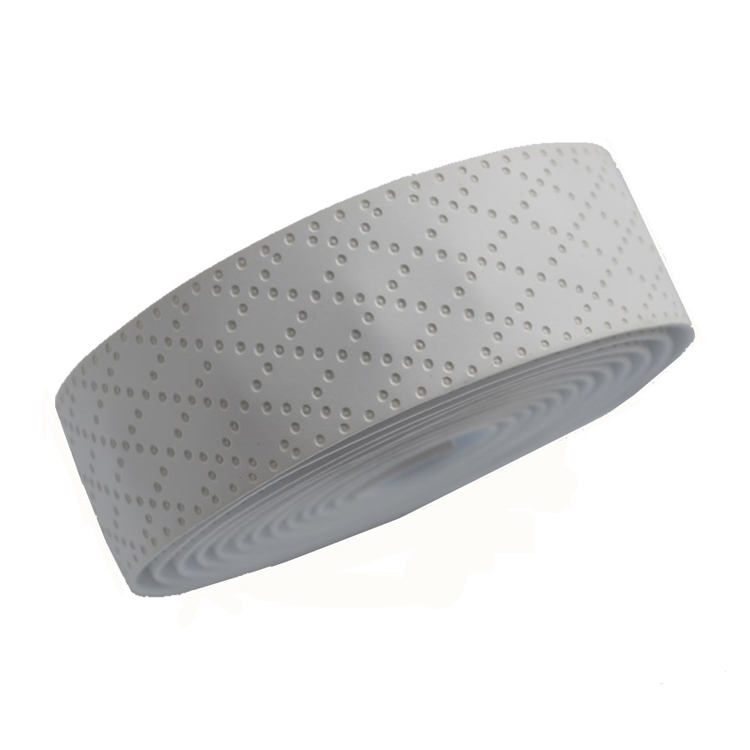
high elastic pit dot pu bicycl
high elastic quality pu with pit dot . extra thick ,3mm , good pading ,soft fe...
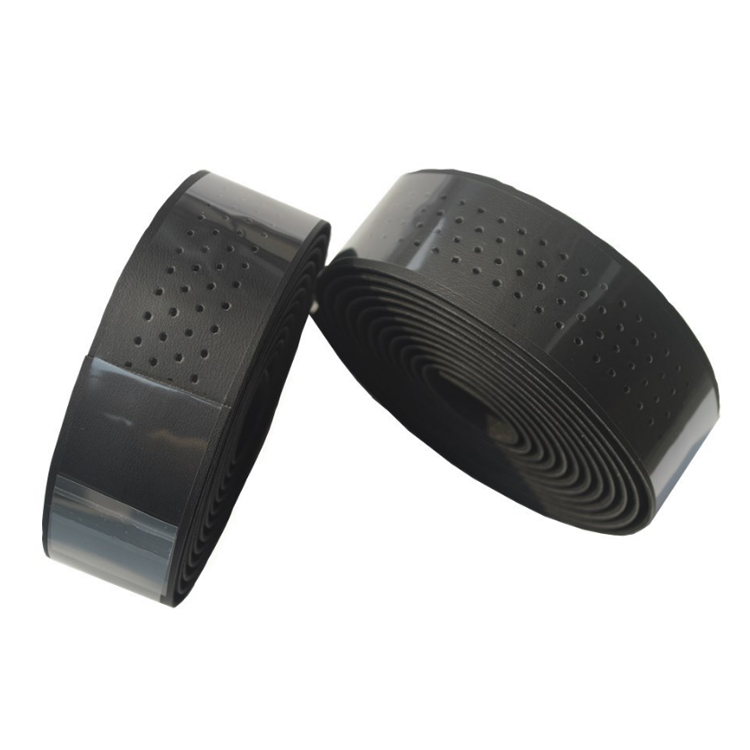
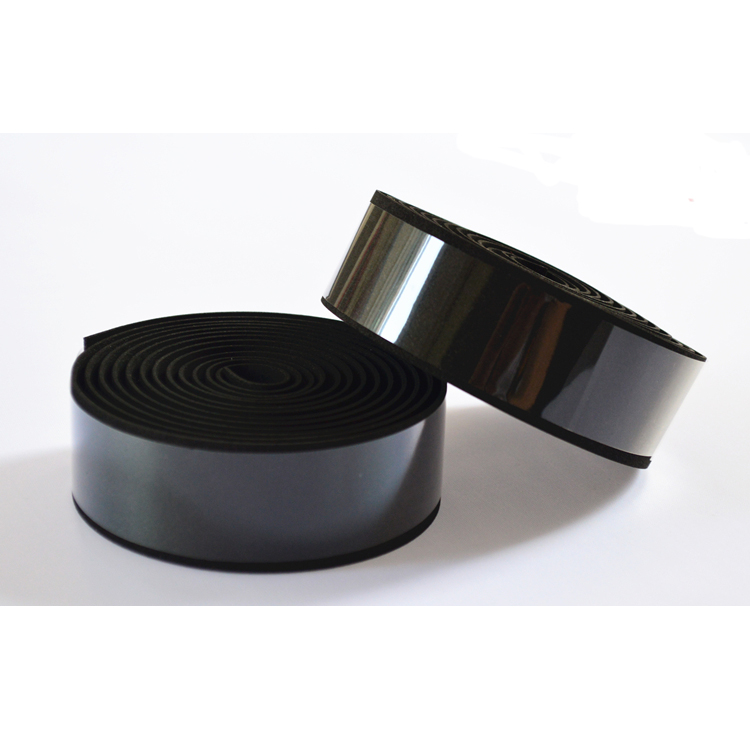
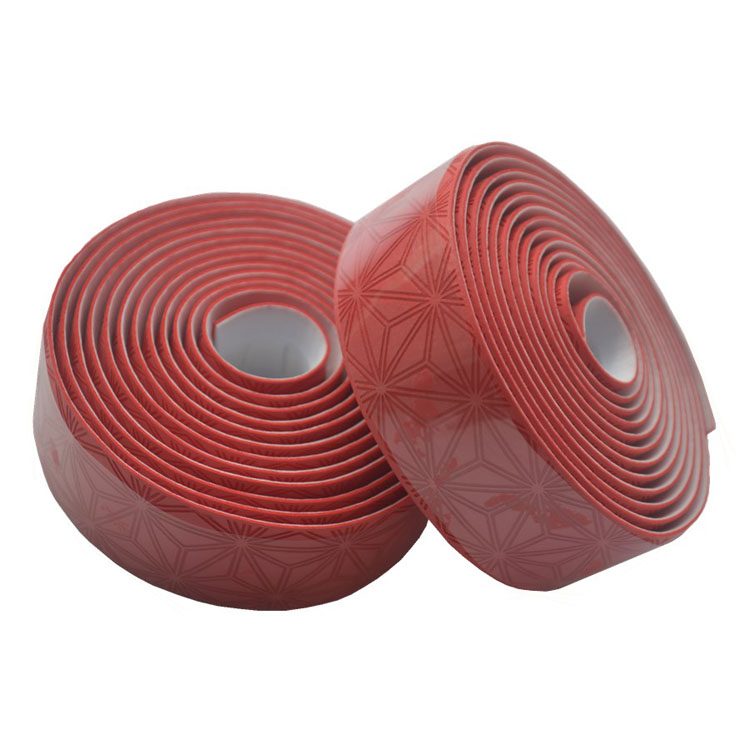
pu with holes bike handlebar t
good pu with holes bike handlebar tape totally 4 colors : black ,red ,white ,b...
new style bar tape ,totally six colors black ,red ,pink ,white ,blue ,green...
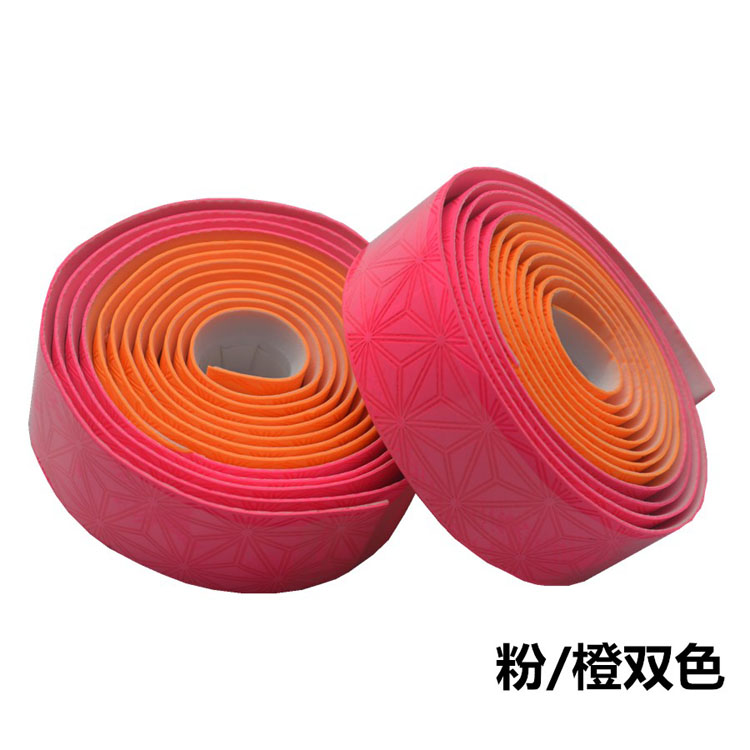
dual-segment new pattern pu ba
totally have 9 colors. black-red, black-white, black-pink, black-orange, black-...
pattern is fashion and many colors that you can choose black ,red ,pink ,yello...
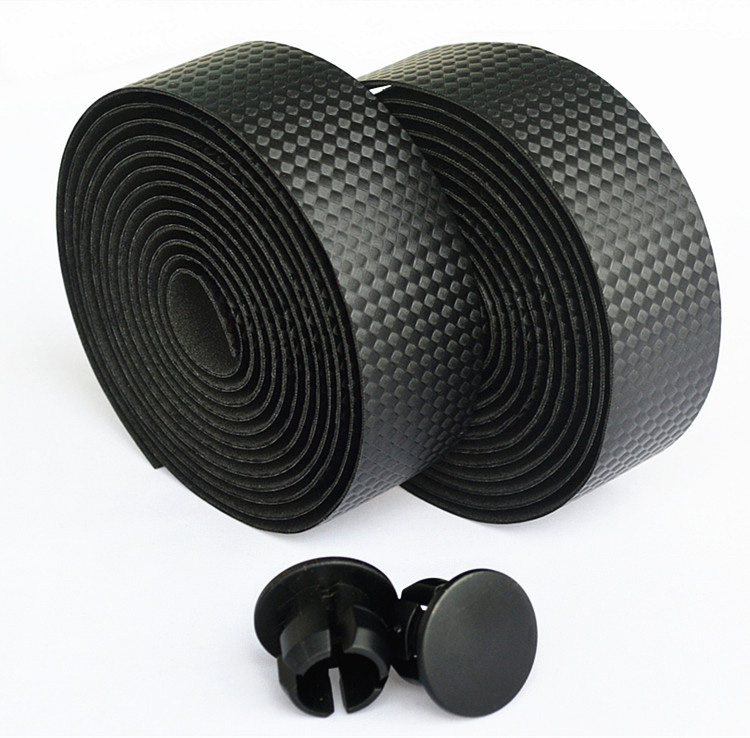
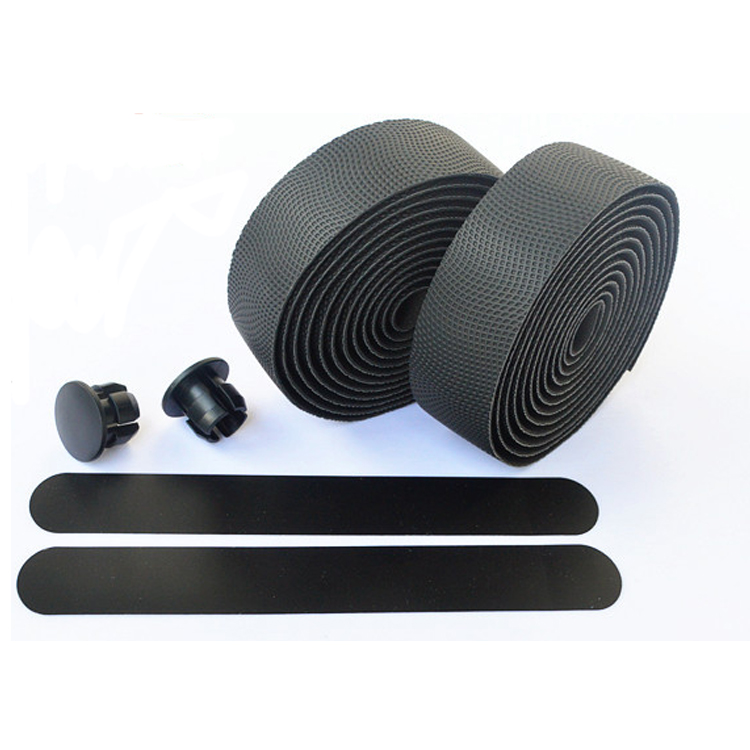
carbon bicycle handle bar tape
carbon PU bar tape have six color that you can choose black, red, white ,blue...
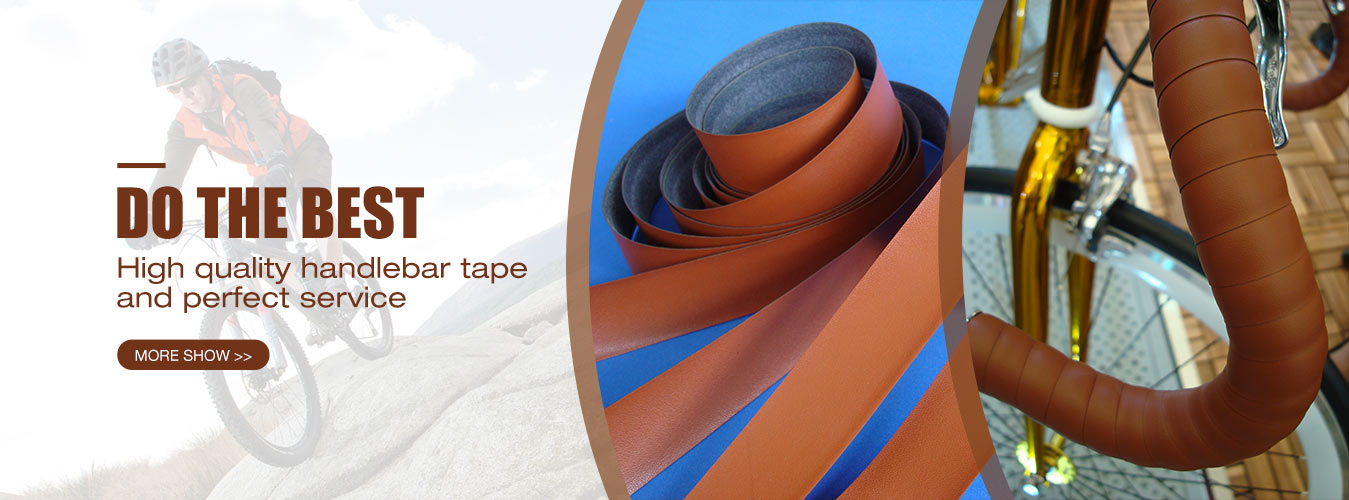
In 2010 we started working on bicycle handlebar tape producing under the factory Goodwill industry & trade CO.,LTD . “GOODWILL” have the good wish for customers . Goodwill is a young but creative team , Now we have below bar tape that you can choose EVA series PU series SILICONE series ODM & OEM. With every product and every idea we aim to deliver convenience to our customers . our factory have half workers are experience masters in bar tape field that can do as you request . Make GOODWILL your business partner. our office workshop warehouse
VIEW ALLContact: Lily Zhang
Phone: 0086 17521331046
Tel: 0086 17521331046
Email: zzsales01@163.com
Add: No 598 puxiu road Shanghai China
 Lily
Lily